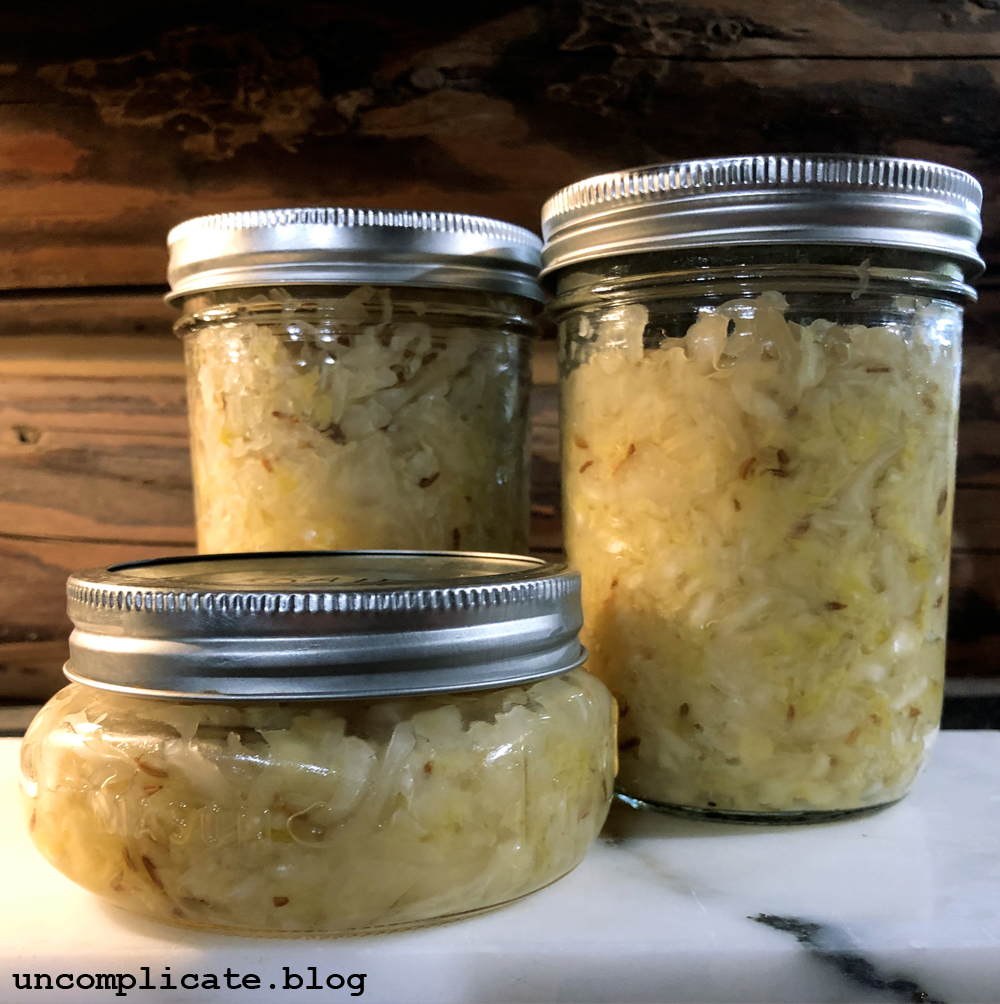
Super Easy Mason Jar Sauerkraut
This is another one of those things that when I finally did it, I wondered what had taken me so long. You guys, homemade sauerkraut so easy and so good. Like most things, I overthought it for too many years: I need to buy special equipment like a crock or something. I should buy a recipe book and learn more. I’m scared of fermenting food in my kitchen. What if I do something wrong?
Yeah, yeah, yeah. All of the above may be valid but are mostly just dumb excuses for not doing something that will make you happy (if you’re a kraut and pickle fan like I am!).
If you have cabbage, salt, a clean jar and something to weigh the cabbage down with (this could be a smaller jar with marbles in it, a clean nonporous food-safe paperweight, or a proper fermentation weight) and a reasonably cool spot to store the jar (I use a corner of my garage floor) you’re all set.
By now we’ve all heard about the gut-health benefits of eating more lacto-fermented foods, and for a minor time-investment (pretty much just 15 minutes chopping and squishing, then being patient for 3 days to a couple weeks) you can get a jar of fermented goodness that’s just as (or more) delicious than that pricey artisan kraut with the cute label you buy at your favorite fancy grocery store. Lacto-fermentation may be science, but it’s not rocket science. You really should try this!

I eat kind of a lot of it, but I’m the only kraut-fan in my house (I know, weird, right?) so I’ve been making it one small to medium head of cabbage at a time, in a quart size mason jar (or a few smaller jars). I love the flavor of caraway seeds so I usually just make basic/traditional kraut with that as my only extra seasoning, but I’ve really enjoyed kraut with garlic, peppers, even spring nettle added – this is something you can get creative with!
(Scroll down for the printable recipe/instructions)
SUPER SIMPLE MASON-JAR SAUERKRAUT
1 small to medium head of cabbage
1 to 1-1/2 tablespoons salt
1 tablespoon caraway seed (optional)
Quart jar with lid
Glass fermentation weights, clean non-porous food-safe paperweights, or a small jar filled with marbles or clean stones
Start with super-clean supplies and work area: I sterilize my jars and weights with boiling water, and make sure my hands/gloves are freshly washed too.
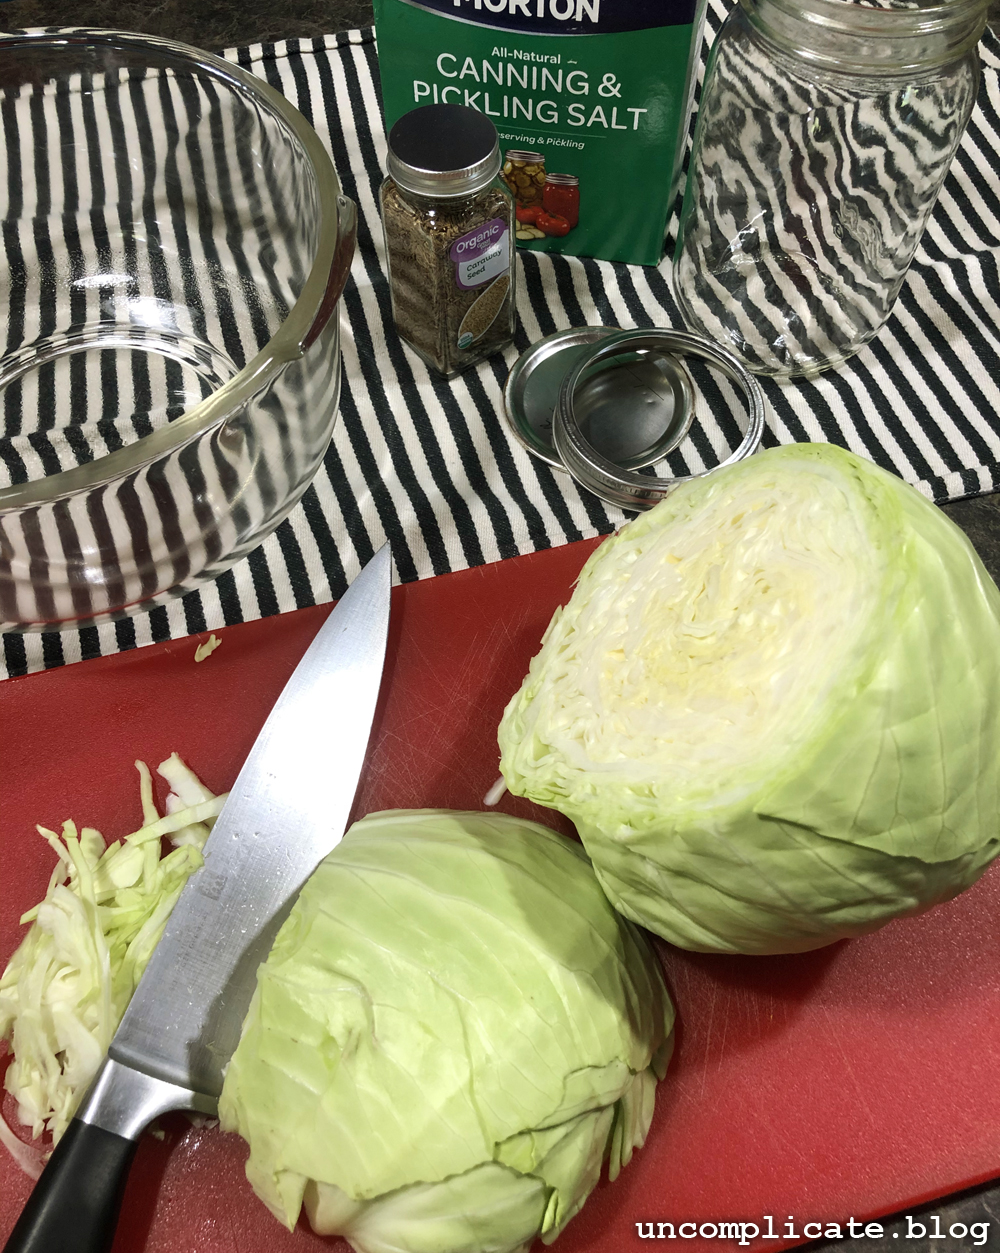
Wash cabbage well and peel off any soft or limp leaves from the outer layers as well as any damaged spots. Halve or quarter the head and remove the tough inner core. Thinly slice section by section and place in a large bowl.
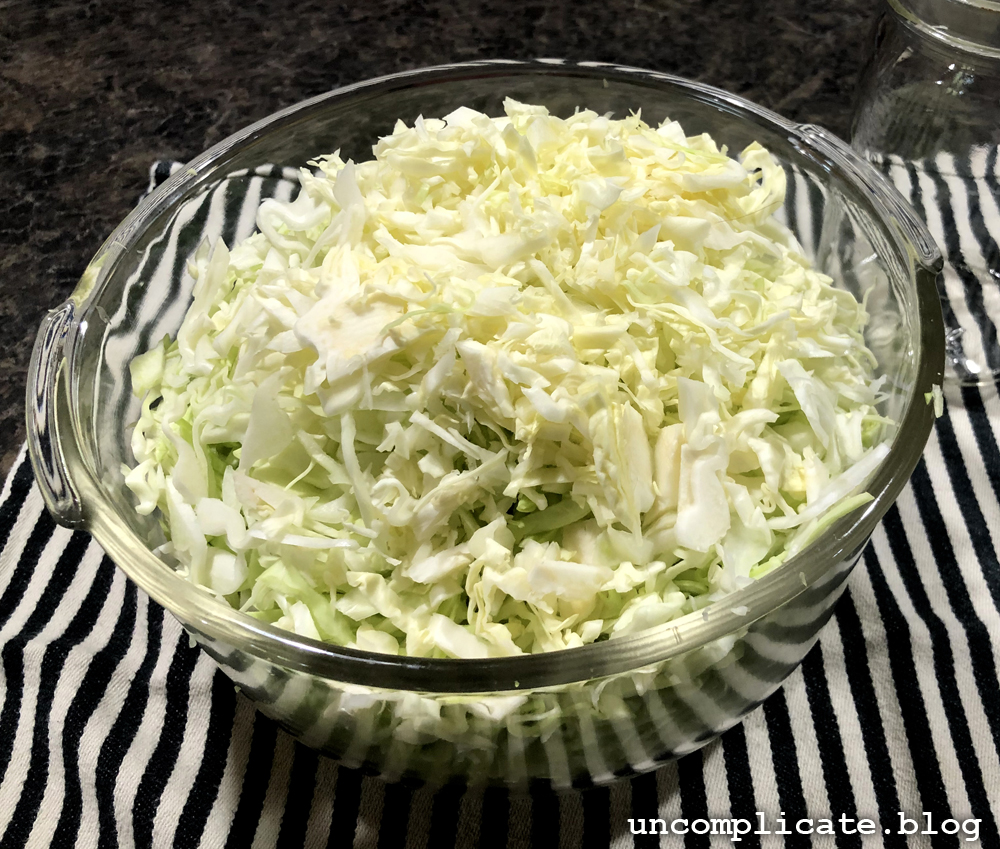
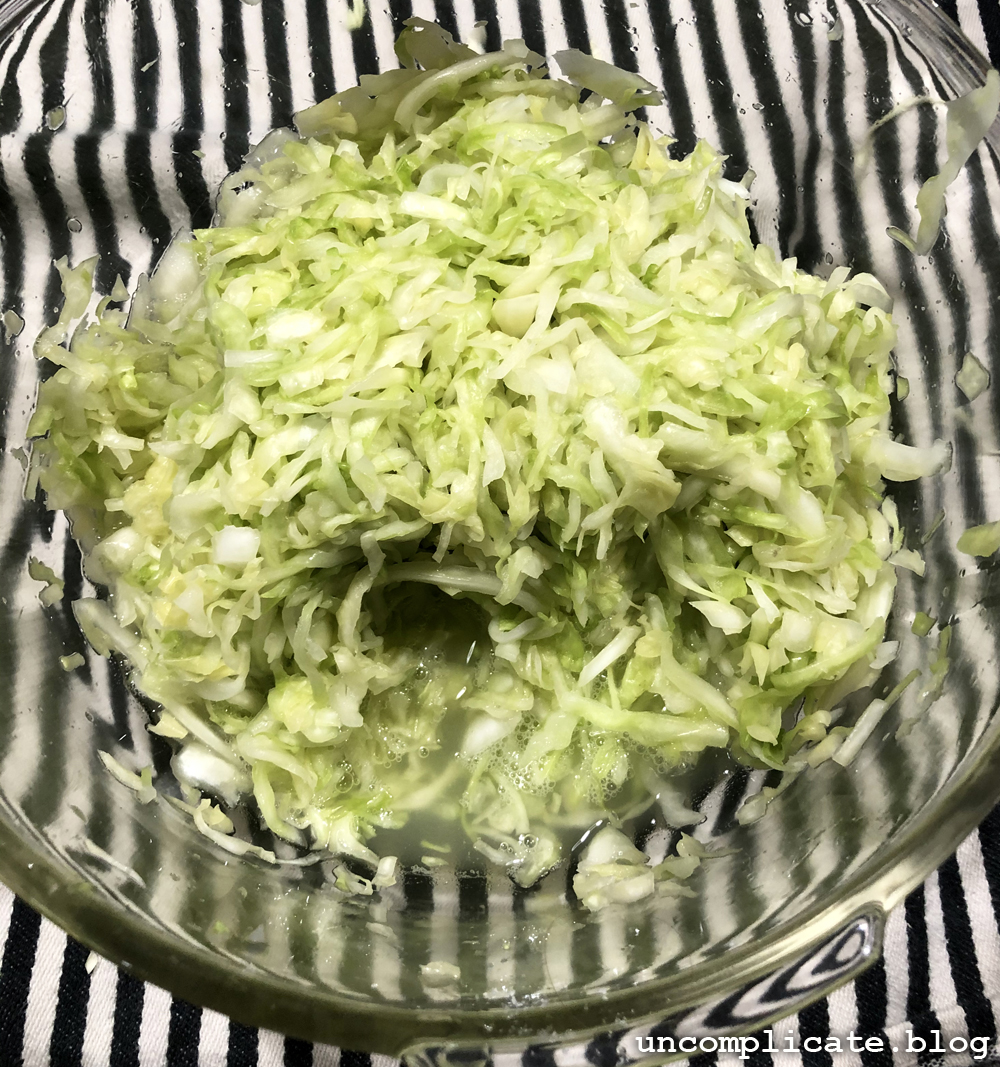
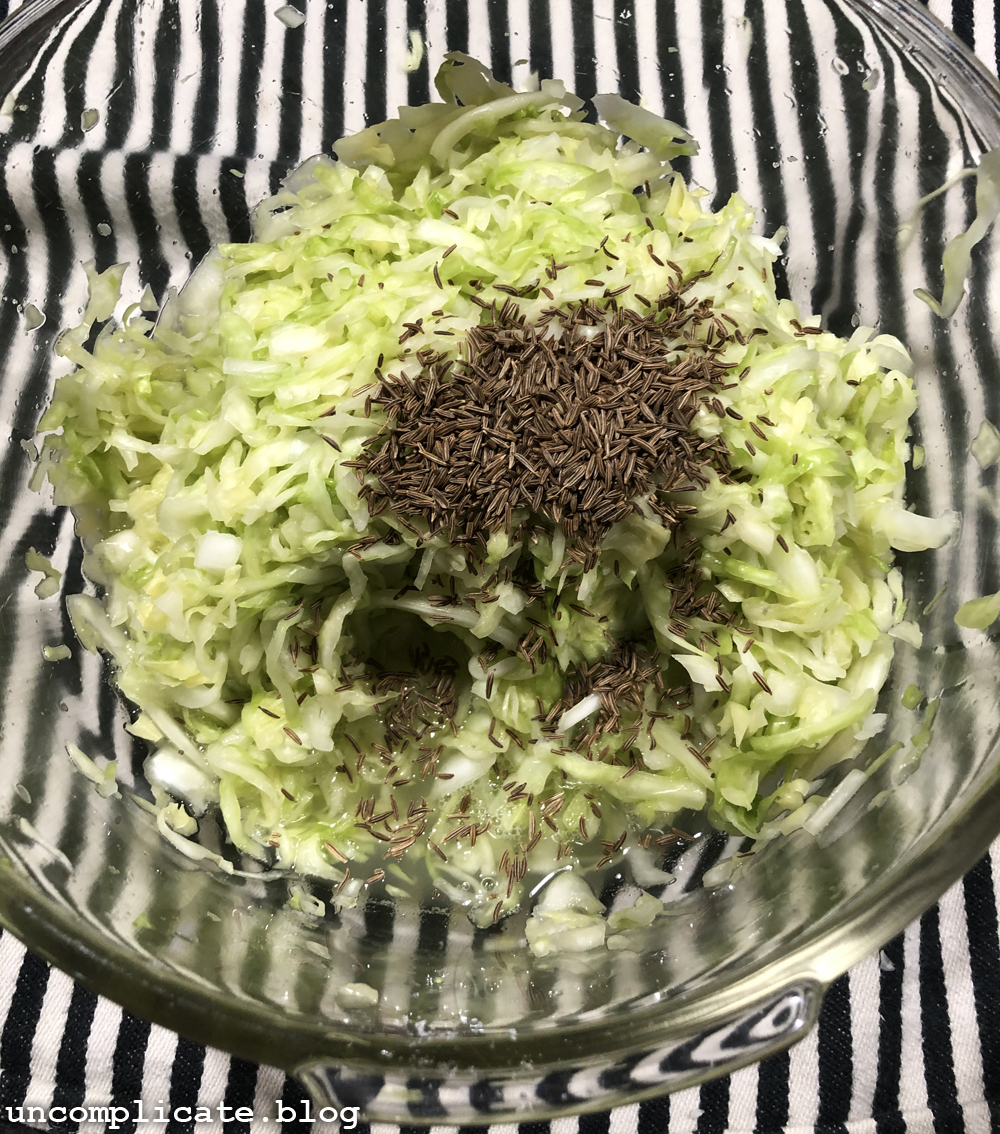
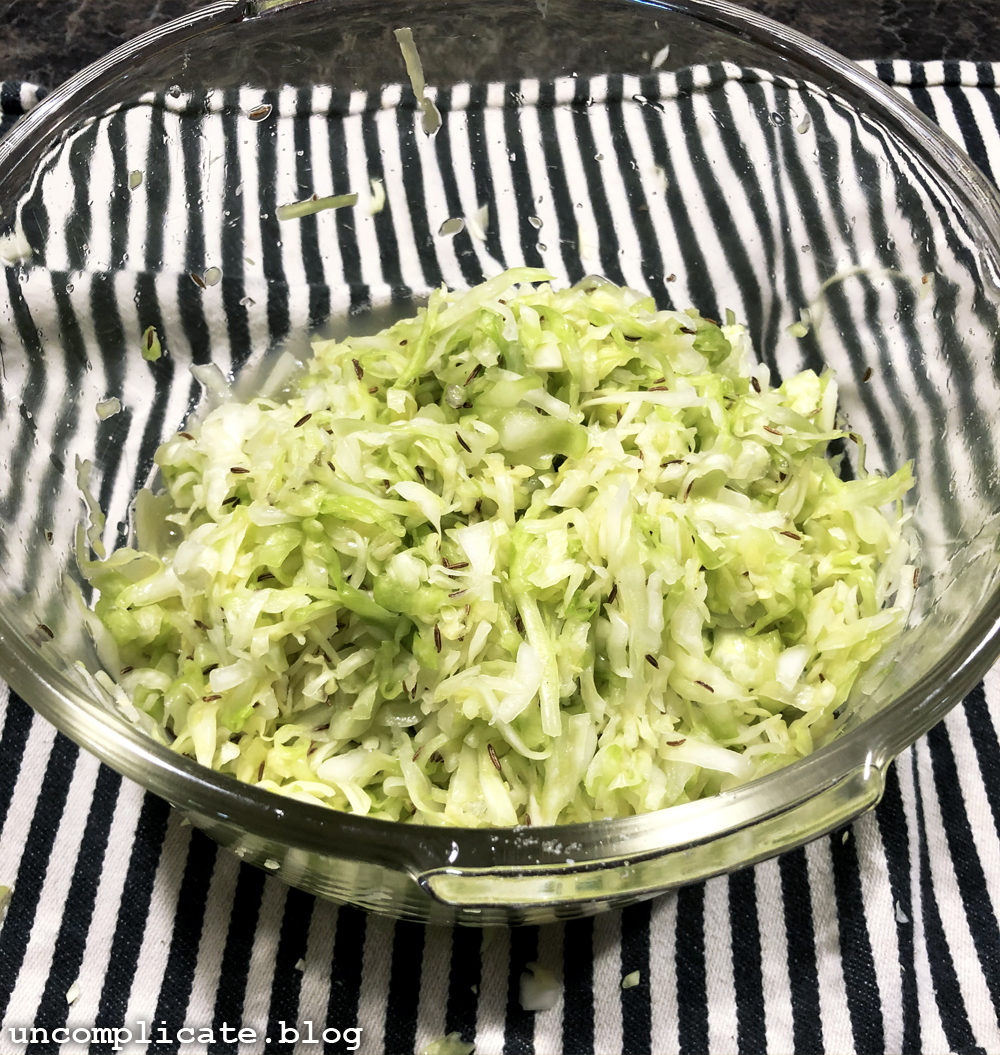
Sprinkle salt over the cabbage and start to massage and squeeze it with your hands (I like wearing surgical gloves for this kind of thing). This is where the magic starts to happen! In 5-10 minutes, the cabbage turns from crispy-crunchy-coleslaw to juicy-translucent-kraut. I was really amazed at how much juice I squeezed out during this process the first time I made it.
Add your caraway seeds or other seasonings/extras now, and continue to mix it up completely, continuing to massage it a bit more.
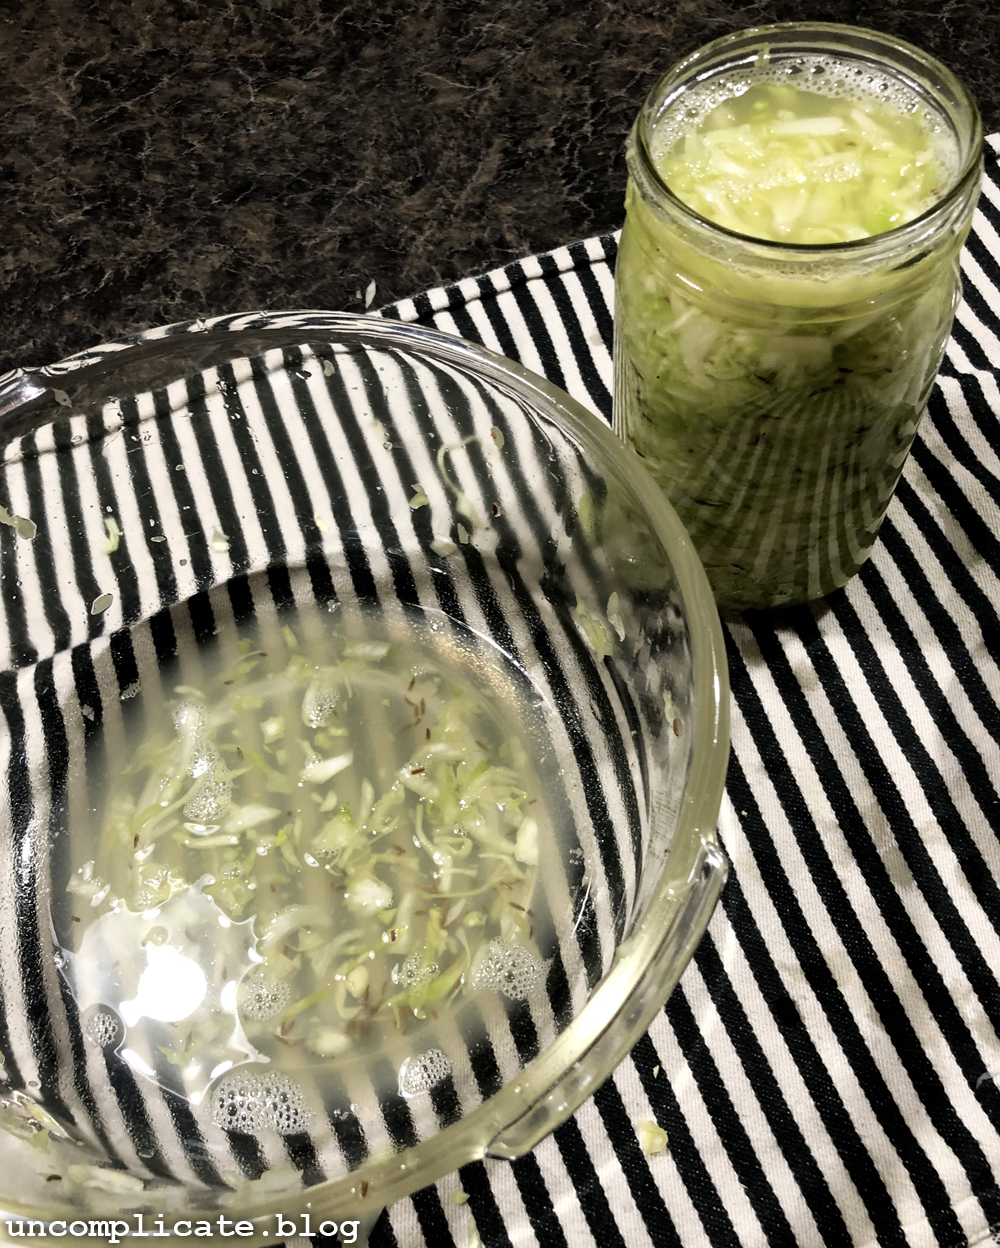
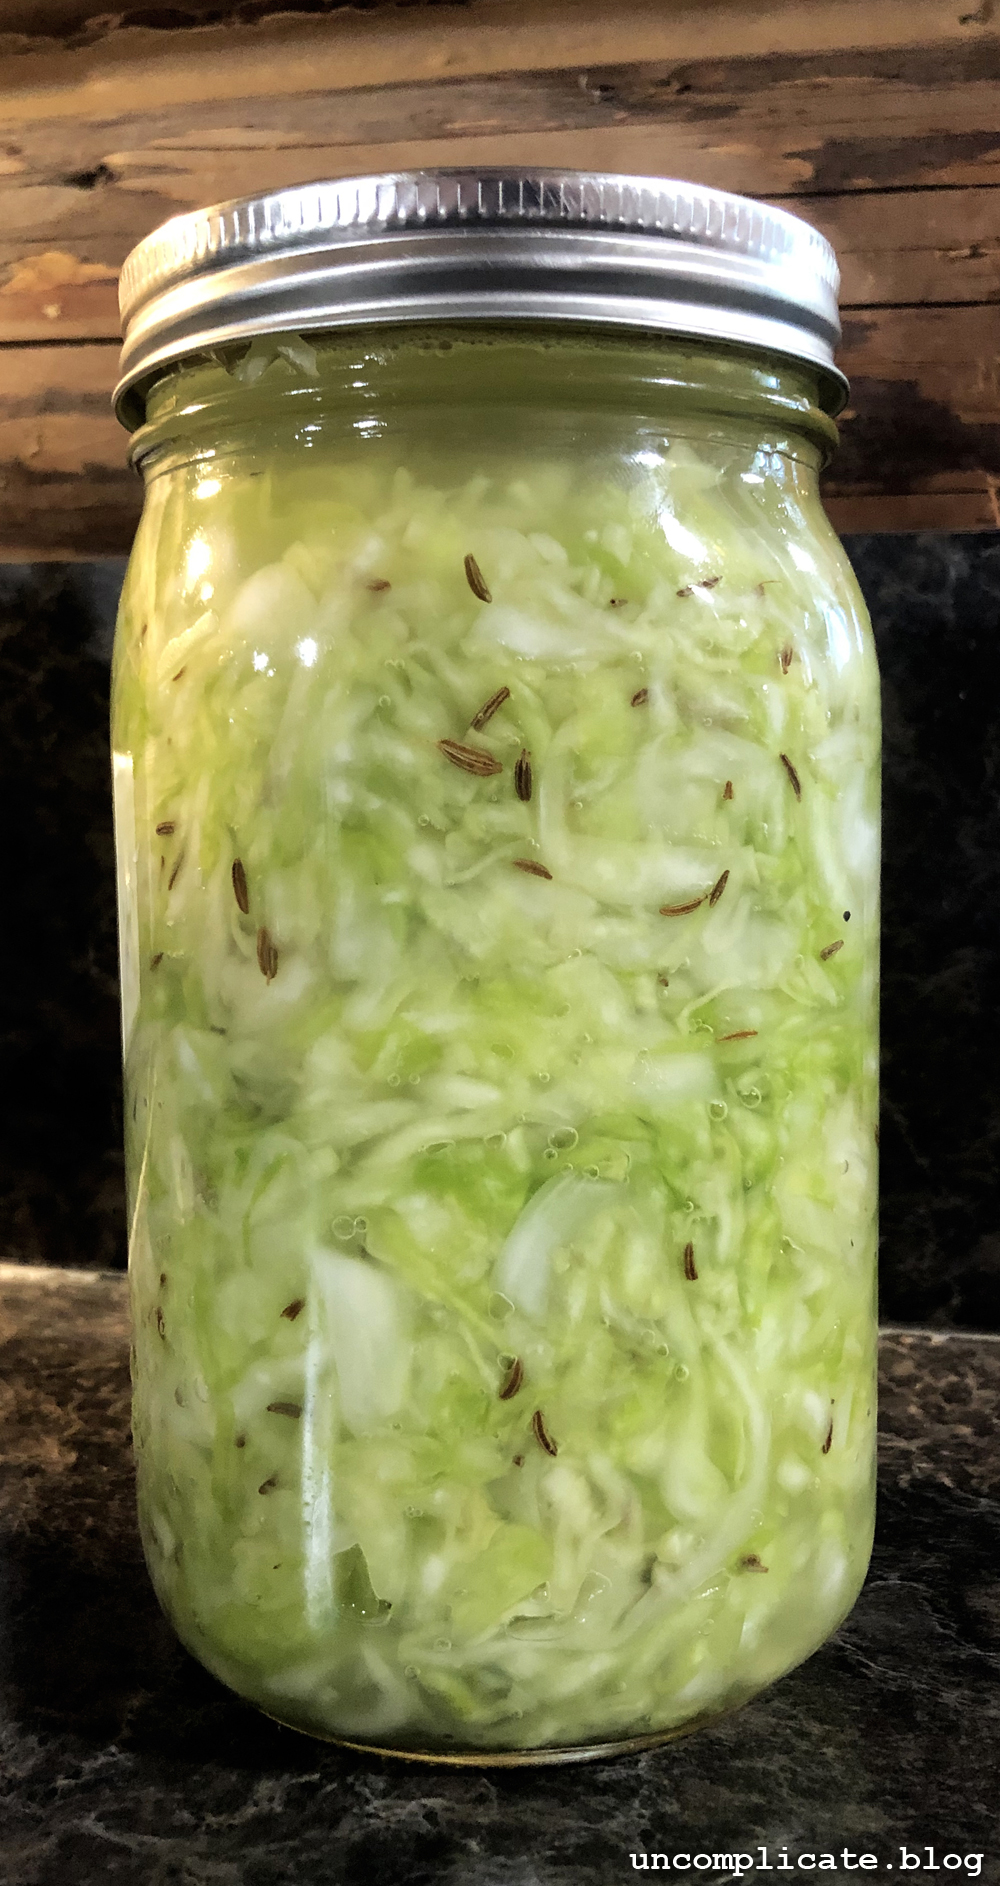
Scoop it into your jar (or jars) with a measuring cup or large spoon, pressing it down as you go. Leave at least 1/2 inch or more head-room at the top of the jar. You’re going to want room for your weight(s) and it does “expand” as it bubbles and ferments.
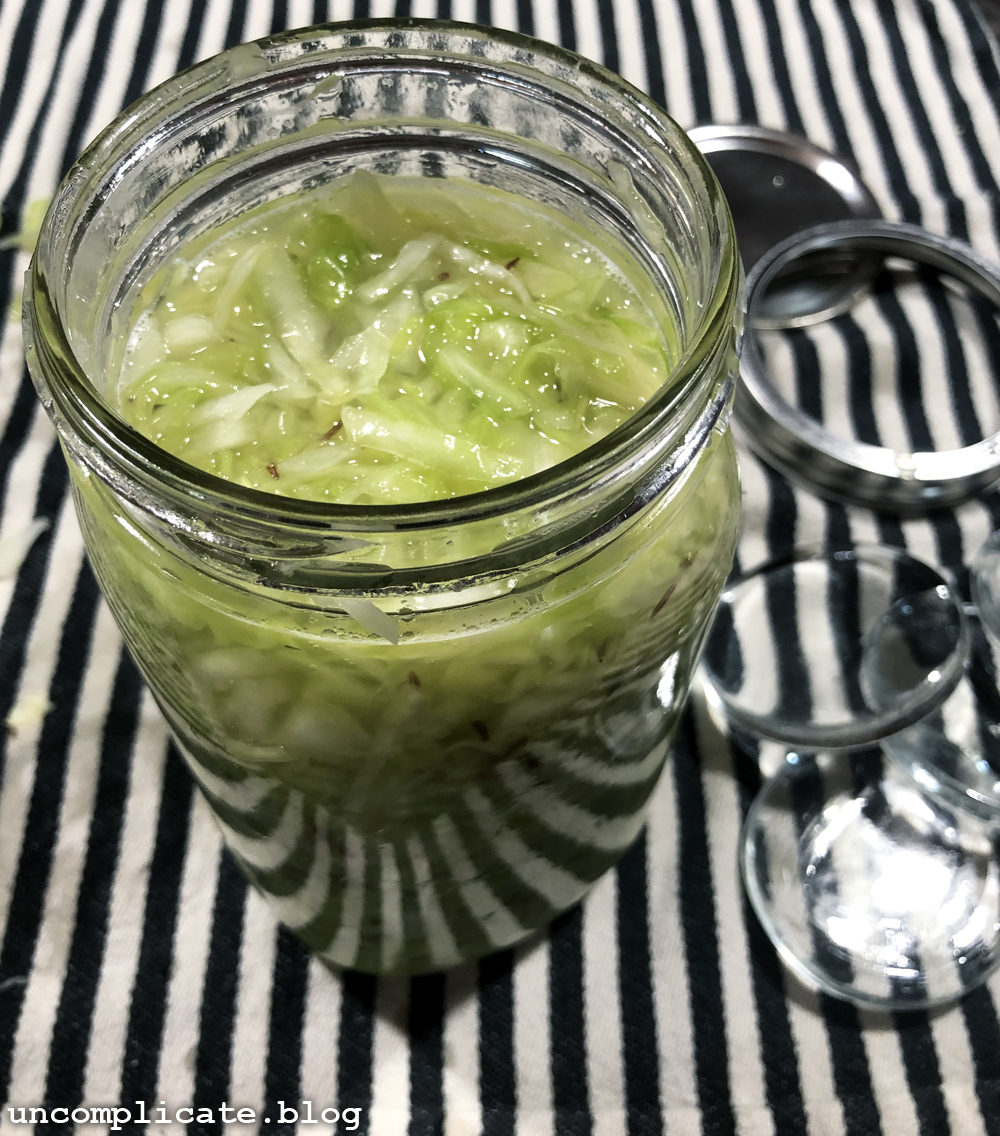
Add your weight(s) and press down firmly, making sure the cabbage is all below the surface of the liquid. The cabbage wants to float (!) but it’s important that it stay covered to avoid mold and ensure proper fermentation.
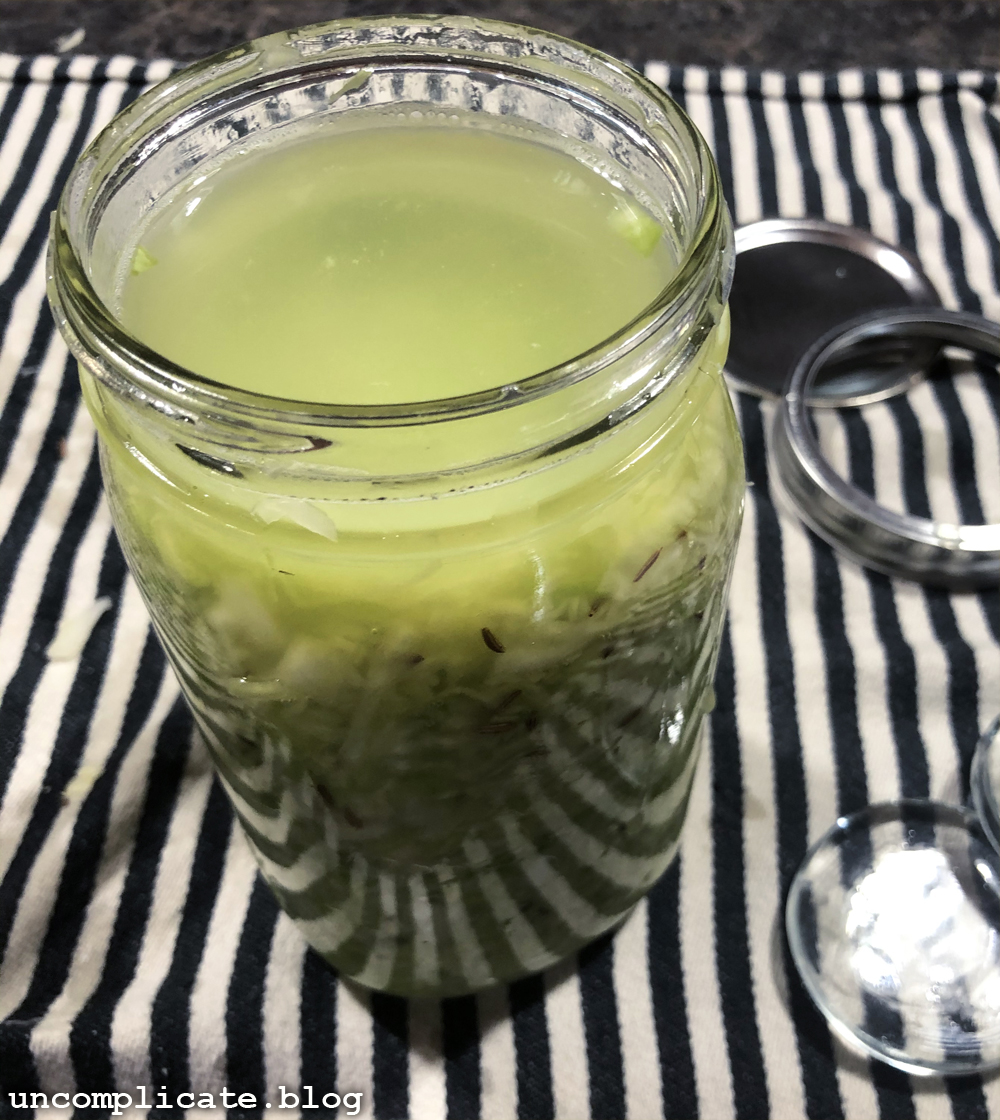
I bought glass fermentation weights here (sponsored link) and have been really happy with how well they work.
Remove any floaters or bits clinging to the sides or rim of the jar that are exposed to air. Cover the jar (not too tightly, as gases will release during the fermentation process). If you use a second smaller jar as your weight, you can cover the whole contraption with a cheesecloth or tea towel secured to the big jar with a rubber band. Again: not rocket science.
Place your jar in a cool, dark location. I like to set my jars on a plate or tray with a paper towel on it, to catch any possible liquid that seeps out when it bubbles and ferments.
Now the magic really starts. This isn’t as scary or intimidating as it might seem to us nervous overthinkers. You just need a little patience and common sense, that’s all. Check your jar(s) every couple days for leakage or small bits of mold on the surface caused by exposed/floating pieces of cabbage (if you’re careful this probably won’t happen, but if it does, don’t be alarmed: scoop them off and let the rest keep doing its thing). Don’t be scared of bubbles or fizzing, this is the beneficial bacteria doing what they do! Change out the paper towel and wipe down the jar if it does overflow, to avoid odd smells or mold on the outside of the jar or surrounding area.
During the entire process it should look and smell cabbagey and pickley. The cabbage will change from bright green to gold. It should never smell rancid or rotted. If you notice at any point that it just doesn’t look or smell right, use common sense: toss it and start over. It’s possible your jars or weights may not have been clean enough or the environment is too warm. Lacto-fermentation is a safe and easy way to preserve vegetables but if what’s happening in your jar doesn’t seem right, it’s just not.
Your kraut may be ready to your taste in as little as 3 days! Just keep an eye on it, and taste it from time to time. When it gets to the look/taste you prefer, you can tighten the lid and store it in your refrigerator, or keep it in the same cool spot to continue to ferment.
That’s all there is to it!
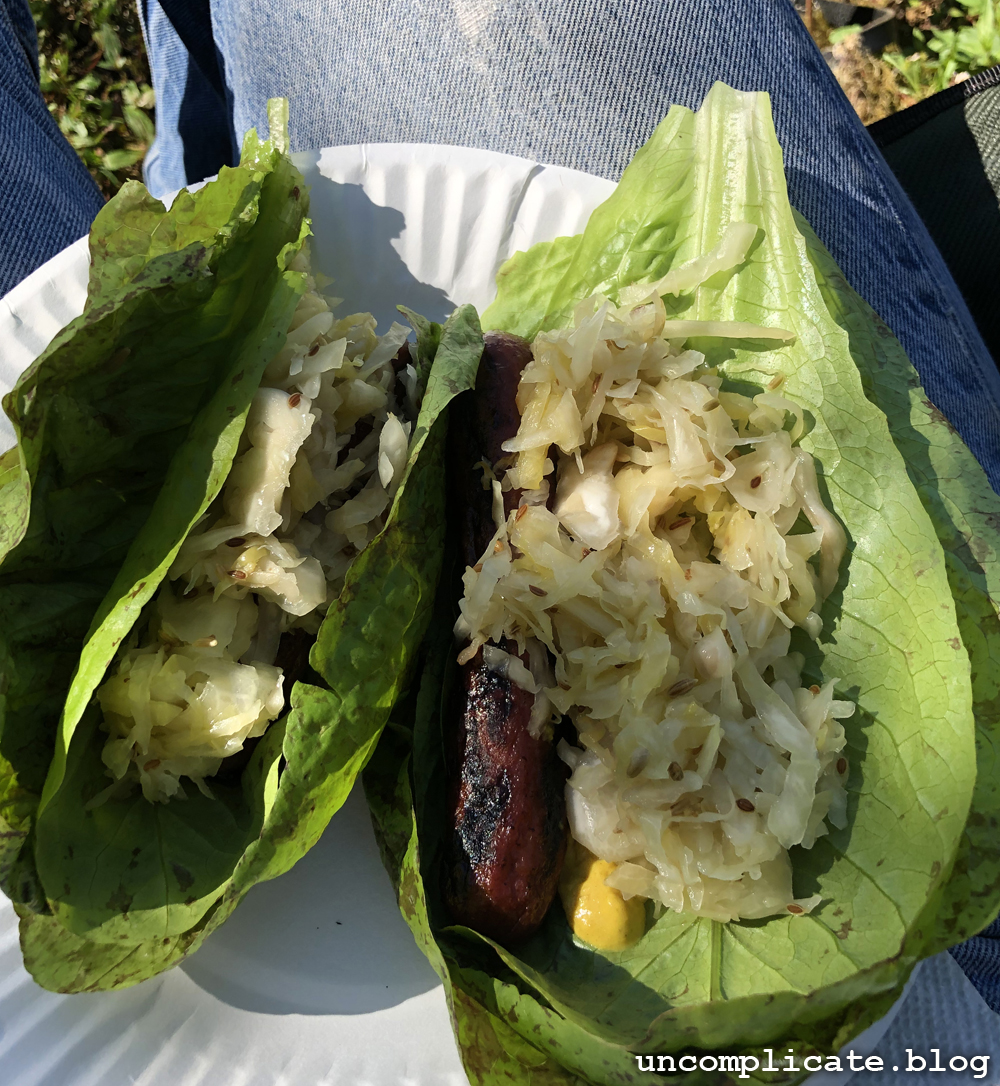
It’s one of my favorite go-to snacks in the middle of the day,

and it’s heaven on a hot dog. So tasty I usually don’t even want a bun. Even easier when I’ve got pretty polka-dotted lettuce right out of the garden.
I hope you enjoy fermenting and eating your own kraut as much as I do!
Here’s the printable recipe/instructions:
Ingredients
Equipment
Method
- Wash cabbage well and peel off any soft or limp leaves from the outer layers as well as any damaged spots. Halve or quarter the head and remove the tough inner core. Thinly slice section by section and place in a large bowl.
- Sprinkle salt over the cabbage and start to massage and squeeze it with your hands (I like wearing surgical gloves for this kind of thing). In 5-10 minutes, the cabbage turns from crispy-crunchy-coleslaw to juicy-translucent-kraut.
- Add your caraway seeds or other seasonings/extras now, and continue to mix it up completely, continuing to massage it a bit more.
- Scoop it into your jar (or jars) with a measuring cup or large spoon, pressing it down as you go. Leave about 1/2 inch or more head-room at the top of the jar.
- Add your weight(s) and press down firmly, making sure the cabbage is all below the surface of the liquid. The cabbage wants to float (!) but it’s important that it stay covered to avoid mold and ensure proper fermentation.
- Cover the jar (not too tightly, as gases will release during the fermentation process).
- Place your jar in a cool, dark location, on a plate or tray with a paper towel on it, to catch any possible liquid that seeps out when it bubbles and ferments.
- Your kraut may be ready to your taste in as little as 3 days,depending on the temperature and the size of your jar(s). Just keep an eye on it, and taste it from time to time. When it gets to the look/taste you prefer, you can tighten the lid and store it in your refrigerator, or keep it in the same cool spot to continue to ferment.
Notes
One thought on “Super Easy Mason Jar Sauerkraut”
I am DEFINITELY going to try this!!! I love sauerkraut and I’m now empowered to try it myself! I have made kombucha, so what am I scared of? Thanks Beth!